Setup Development Environment
What you'll need
- The Inubot Launcher
- An IDE - IntelliJ is my personal preference and what I will be using in these tutorials. The Community Edition is available for free.
Starting a project
-
If you've never ran the Inubot launcher before, run it and start an Inubot client. This will install the Inubot client and SDK for you
-
Open your IDE and create a project from Version Control. For the URL enter
https://github.com/rs-peer/inubot-script-template
-
If you don't have JDK 11+ now is the time to download it. If you already have it, skip this step. Open the
Project Structurewindow viaFile -> Project Structure, select the Download JDK option, Java 11 from your preferred vendor and then select that as your SDK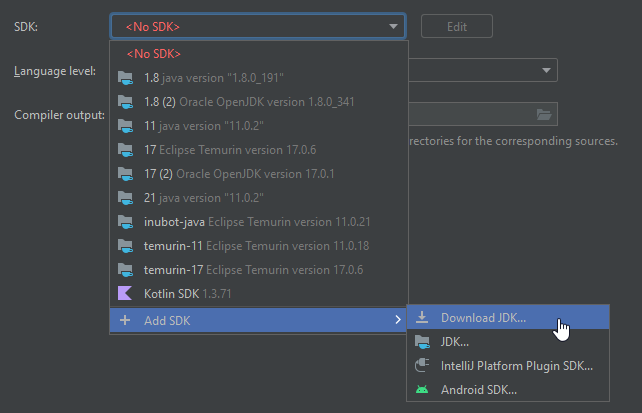

-
Open the
pom.xmland edit theartifactIdattribute to whatever your script is
-
Create a
srcdirectory. This is where all your code will go

-
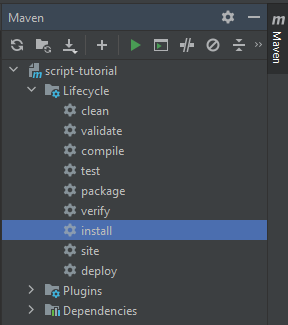
You're now ready to go! The
pom.xmlfile automatically imports the Inubot SDK for you and configures your IDE to use the correct Java language level as well as set the compile output path for your script to the inubot scripts directory. You can use the Maven sidebar to build your script using thepackageorinstalloption